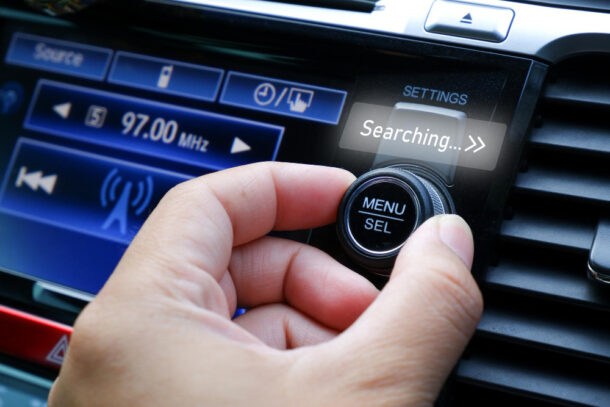
Nowadays, times are increasingly sophisticated, and lots of advanced technology is embedded in various fields, including automotive. You may now be familiar with cars equipped with audio systems.
In this system, the term crossover is known, which functions to divide frequencies. For more details, see the following review of car speaker crossovers.
Understanding Crossover in Car Speakers
In a car audio system, you will find a component known as a crossover. This component has an important role in the system, namely to determine the quality of the sound produced by the audio system.
Crossovers determine the quality of this sound by dividing the available frequencies. These frequencies are shared with the speakers in the vehicle, so you can hear music, radio, and clear calls while driving. So, if this crossover component is removed, you will get conflicting audio instead of the desired sound clarity.
Functions and How It Works
The crossover component functions to determine the sound quality produced by the car’s audio system, so you can enjoy clear sound while driving. As for how it works, the crossover divides the working frequency between the two drivers.
For example, in a car that has a 2-way speaker system, the crossover will then divide the frequency of the sound between the two speaker components, namely the tweeter and midbass. The crossover will cut the frequency at the tweeter at 4 kHz, with a slope of 12dB/octave.
Meanwhile, the frequency cut in the midbass section will be carried out, namely in the range of 2.5 to 3.5 kHz, to balance the tweeter component in the speaker.
The function and workings of this car speaker crossover are not applicable or necessary if your vehicle only uses one type of speaker. Because all that is needed is a high pass, to reduce the load.
Types of Crossovers in Car Speakers
In general, there are two types of crossovers in audio systems in four-wheeled vehicles, namely active crossovers and passive crossovers.
1. Active Crossovers
The function and workings of each of these types can be expanded slightly differently, from the explanation regarding their functions and workings in general which has been mentioned previously.
For this type of active crossover, its function is to divide the speaker frequency before the sound signal from the audio is amplified by a power amplifier.
So by using this type, you can adjust the sound frequency from the audio system in the vehicle for each speaker easily. You can also determine when each speaker appears. You can set the time each sound comes out with the time alignment feature.
2. Passive Crossovers
Meanwhile, passive crossover works to divide sound frequencies after the audio signal enters the power amplifier to be amplified.
If this type of passive crossover is made optimally, the resulting sound may be of clearer quality than an active system. Even so, you may find it difficult to set the time alignment.
How to Set Up Crossover Frequency for a Car
Cabling installation in setting up an active crossover can be done using several methods for distributing output and input signals between devices. It is best to use a cable connection with a Balance system to get a stable gain and a powerful signal.
Step 1
The connection system between equipment that you can use is as follows. If you have one Equalizer unit, you can install the devices in the following order. From the Mixer output, it goes to the EQ, and from the EQ it goes to the Crossover
In the CO output section, there are 3 output lines, namely Low, Mid, and High. Jack Out Low will be transferred to the special Wofer or Subwoofer Power Amp. The Mid connector on the CO is channeled to a special Middle Power Amp, as well as the High.
Especially for the Equalizer settings, you can set it flat first or deactivate it first when you set up the Cross Over, then when the CO frequency range has been found, you can set the EQ to smooth your audio.
Step 2
After the installation is complete and connected to other sound system devices up to the high end, namely the Loudspeaker, the next step is to adjust the sound by turning the buttons according to their function. The rotary knobs and switches on this CO are for adjusting the frequency and gain, you can do this by changing the available knobs according to their respective functions.
Set the Crossover frequency button settings depending on your taste, but speaker safety must also be taken into account by not providing a Gain Level above 0 dB when you turn the Variable Resistor button on the CO panel. The input level functions to provide input signals to all parts of the Op Amp filtering.
Step 3
In the Op Amp filtering section there is an XOVER FREQ button that functions to tune or cut the frequency band range that we want to cut or pass. The word X in XOVER is a scissor sign which means to trim and then pass the frequency filter above the range we set.
As we know, the audio frequency range is from 20 Hz to 20 KHz which is then divided into several bands, namely Sub Low, Low, Middle, and High. Sub Low-frequency range with a hearing range of around 20 to 200 Hz, Low-Mid frequency with a middle frequency with a range of 240 Hz to around 8 kHz, and the rest are for the high-frequency range.
That’s a glimpse of how to set up a frequency crossover on a car that you should know. And if you want to get the best songs with audio quality for your car, you may like to convert YouTube videos with Ytmp3.
